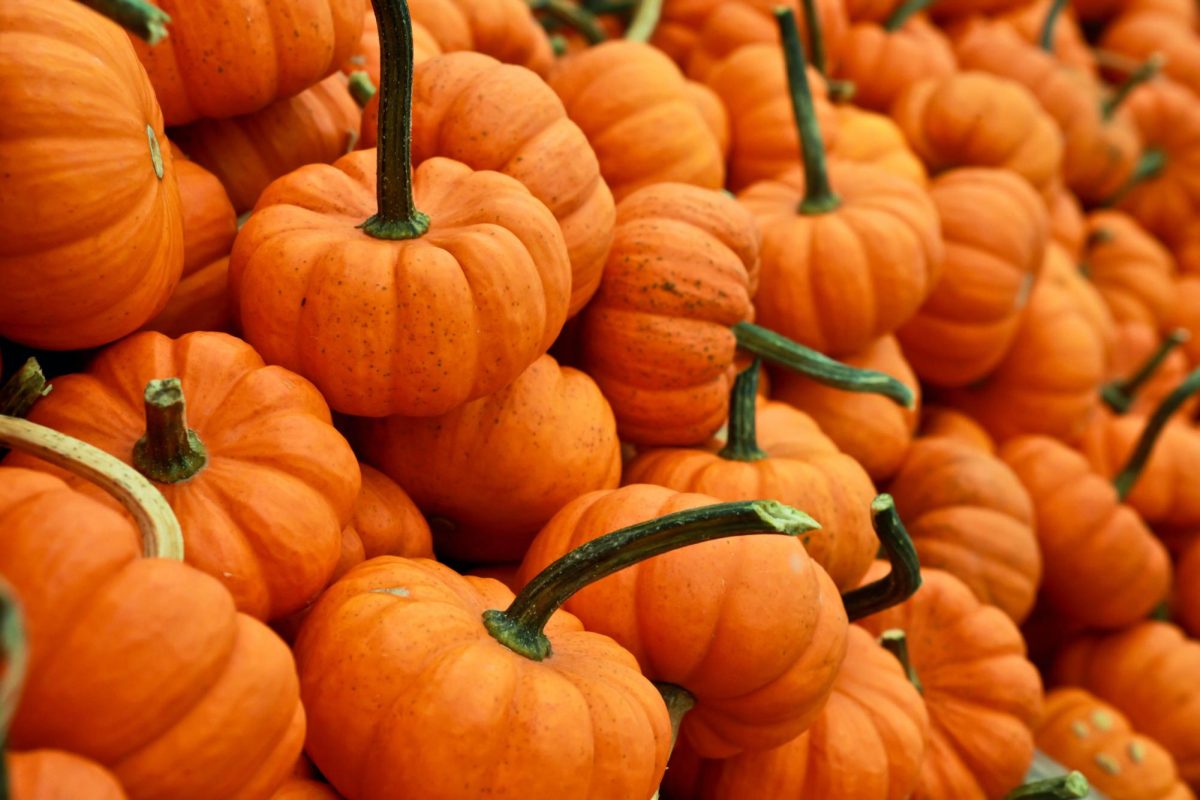


It’s finally fall and the fall festivities are in full swing. One of my favorite fall activities is carving pumpkins to make designs and Jack-O-Lanterns! Carving your pumpkin perfectly involves a series of tips and tricks that have amazing results every time!
The first tip I recommend in order to carve the perfect pumpkin for your porch or balcony is to pick the right pumpkin. Pumpkins come in all different shapes and sizes which depends on your personal preference, but it is important to check your pumpkin for soft spots! Inspecting your pumpkin for soft spots is important because soft spots indicate that your pumpkin is already spoiling! An already spoiled pumpkin and Florida heat is a recipe for disaster so inspect thoroughly! A pumpkin with a deep groove may be hard to paint and carve, so try to pick a pumpkin with a smooth surface. This allows for efficient carving and decorating!
Tip number two is to fully thin out and hollow the shell of your pumpkin. A good pumpkin can be extremely thick and filled with a lot of guts and seeds, which means you should provide a little extra prep work before you get to carving. A trick I recommend is a spoon with a serrated edge; this allows for you to clean your pumpkin out better and more efficiently! A super clean and not super thick pumpkin allows you to carve it way better.
The third tip I have is to draw your design in advance and transfer it. Some of us can freehand extremely well, which is not the case for me, and my design never turns out exactly right, especially with pumpkin gut-covered hands. Drawing your design beforehand and tracing it on the outside of your pumpkin before you gut and carve your pumpkin produces a much nicer and cleaner design.
Tip four is to consider shaving your pumpkin instead of carving if you are a little rusty, with the pumpkin carving kit. A trick I recommend is to shave the pumpkin down as much as possible around your pre-drawn design so that light can still shine through. This is a super unique pumpkin carving technique that strays away from your typical triangle-cut pumpkins (no offense). Another trick includes using block cutters in order to scrape the pumpkin to the shell without breaking the pumpkin.
The fifth pumpkin carving tip I recommend is to light up your pumpkin! Use multiple candles but the trick is to use battery-powered candles. You can put multiple lights in the pumpkin without worrying about it becoming a fire hazard and really show off your design! I recommend 3-4 for a small pumpkin, 5-6 for a medium-sized pumpkin and 7-9 for a large pumpkin. Be careful as these candles still can produce some heat. I sometimes also use a small piece of cardboard inside the pumpkin to angle my lights as well. Fishing wire is a good way to secure your pumpkin and its lights without worrying about it interfering with your design.
The sixth and final pumpkin carving tip is to be patient and have fun. No pumpkin will actually be perfect, but the whole point of carving pumpkins is to have fun! Take your time with your precious artwork as you have spent all this time searching for the perfect pumpkin and doing a lot of prep work. A lopsided or dented pumpkin adds character to your design. Embrace your pumpkin and have fun carving this fantastic fall!